Your Guide to the Webflow Editor
Now you can manage your own website without breaking the design. The Editor lets you update and add content in an easy to use and simple interface.
Let's Get Started
It is best to use the Webflow Editor in Chrome or Safari web browsers.
Remember you have to Publish your site for your changes to go live on the website.
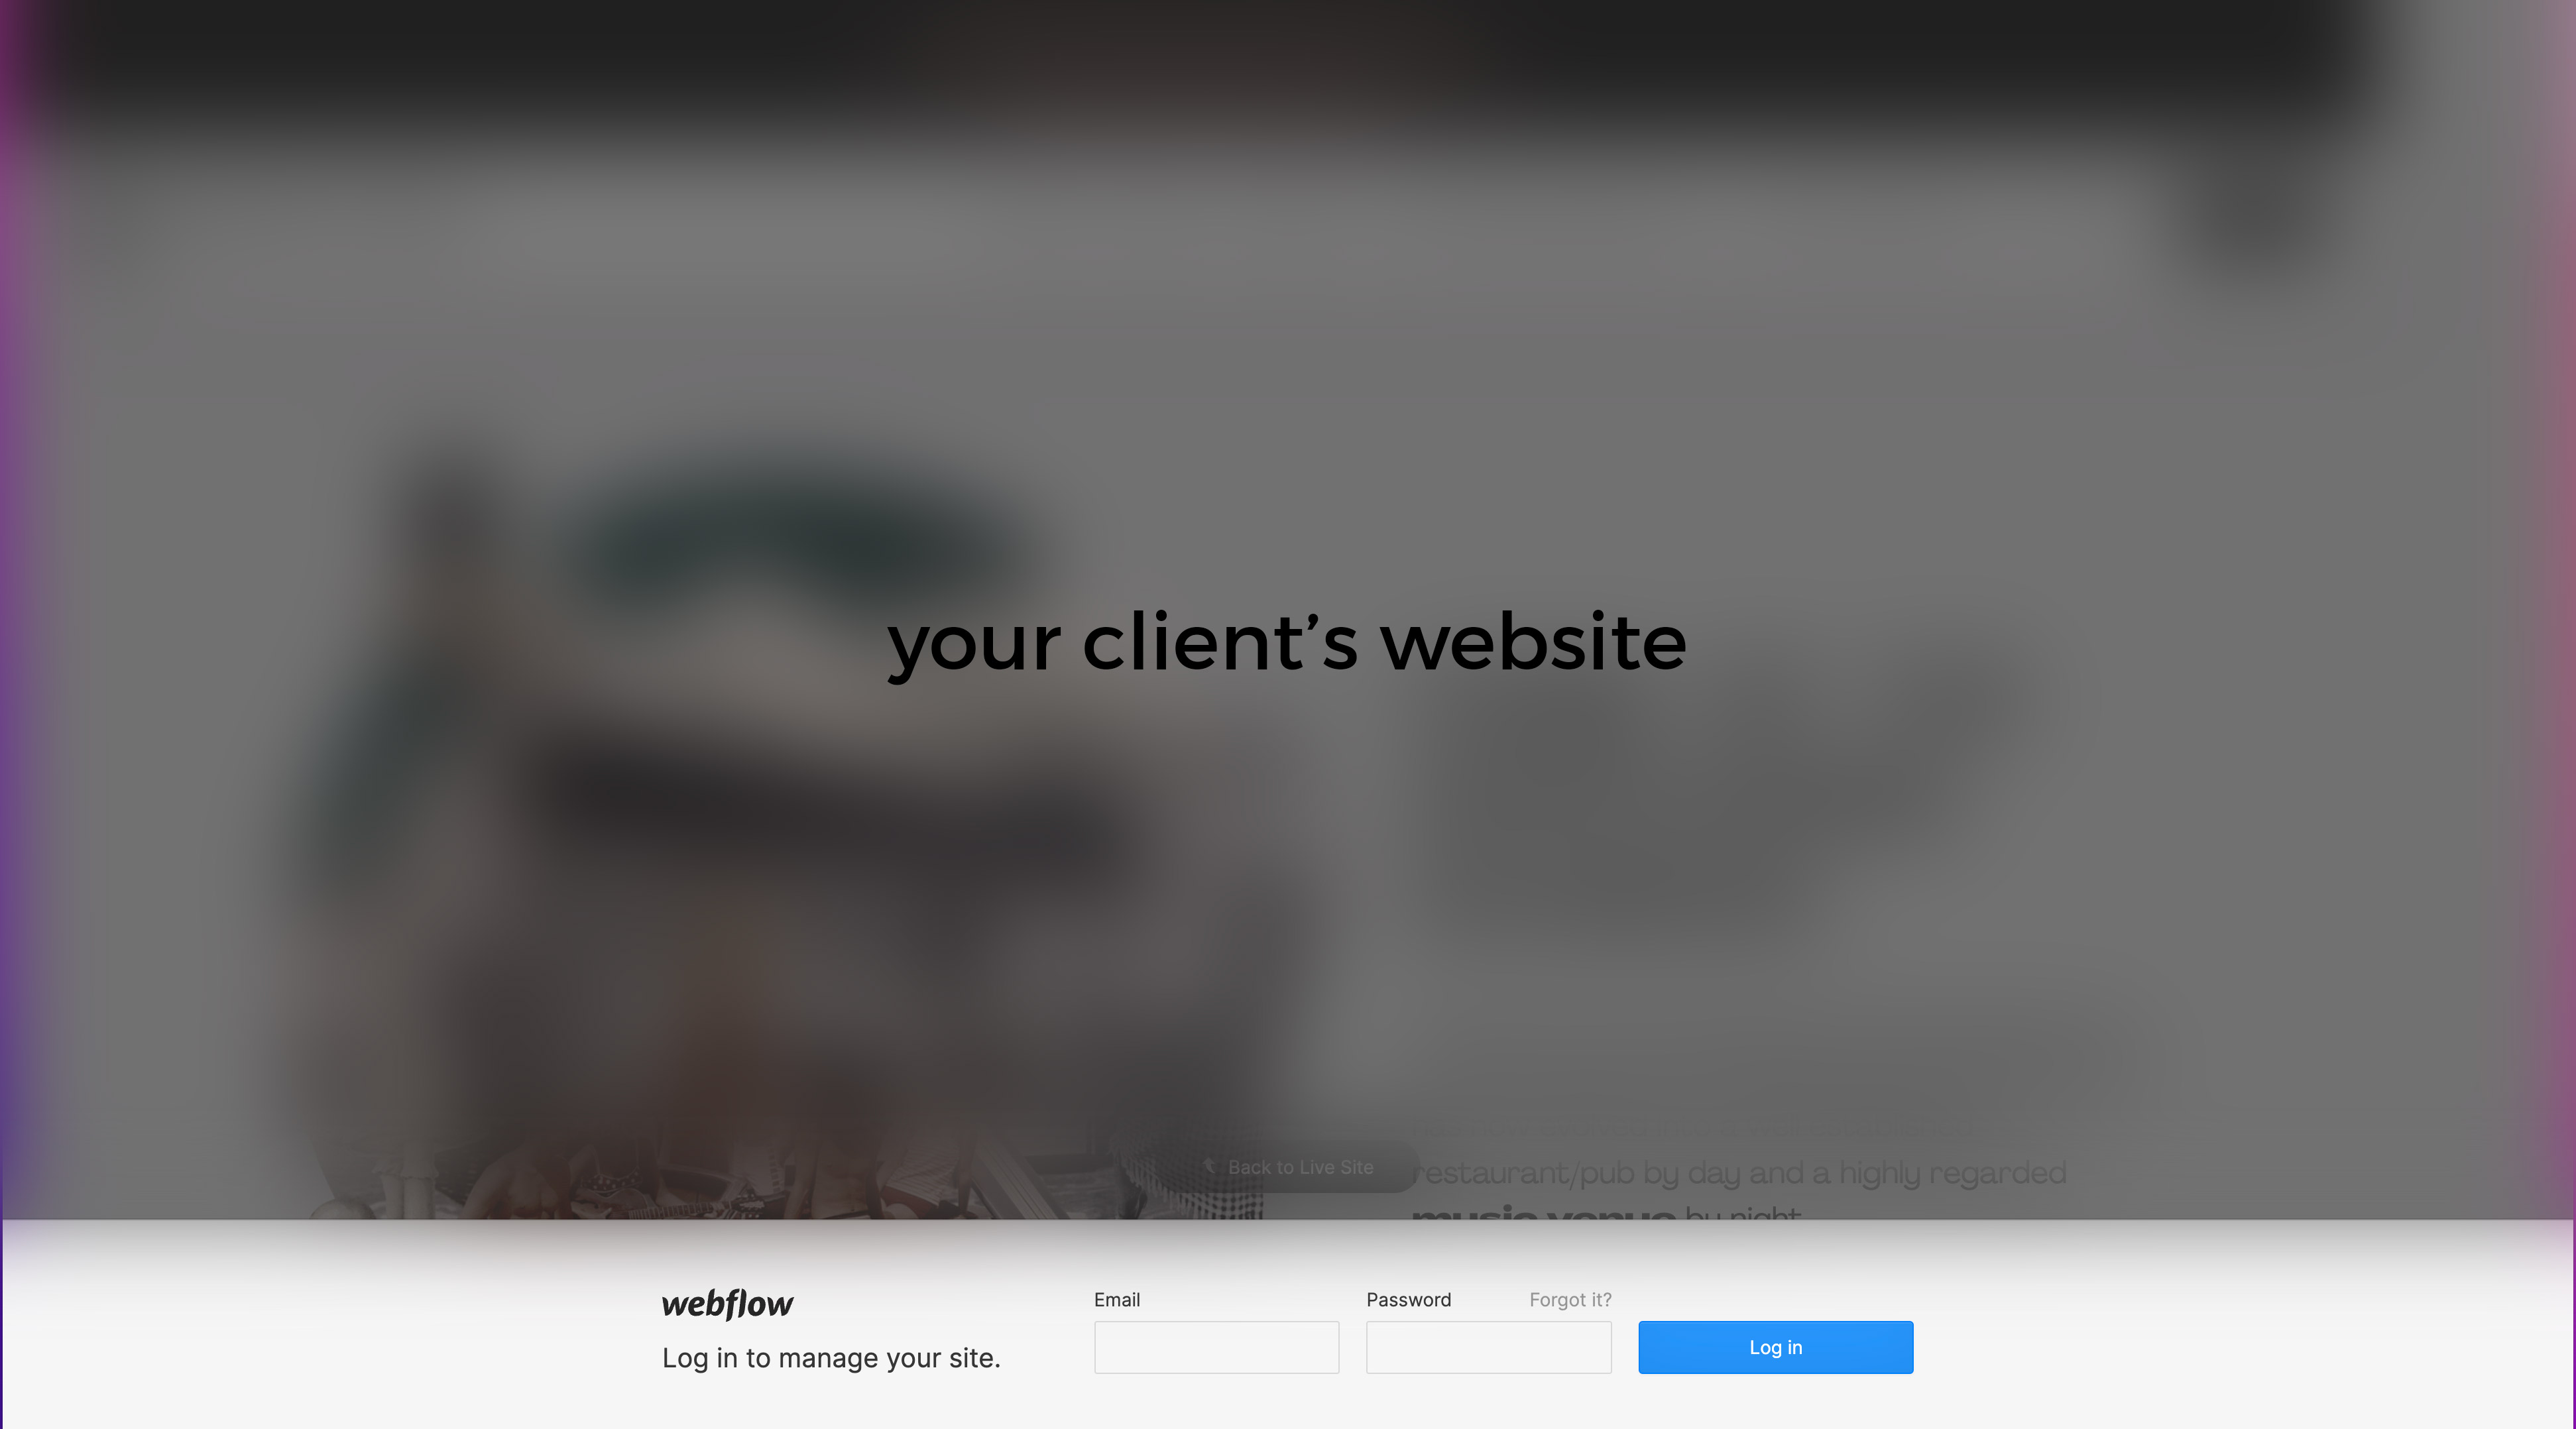
Access the Editor from the live site
You can access the Editor from your website by adding /?edit to the end of your website URL in the browser address bar.
example: yourwebsite.com/?edit
You will be prompted to login with your user name and password.
When you return to the site later, you may see the “Edit site” button in the lower right corner, which you can click to hop into Editor mode.
Access the Editor through Webflow’s interface
If your are in the Webflow dashboard you can access the editor from the Project menu in the dashboard. Click the ellipses (...) at the bottom-right corner of your project thumbnail and choose Editor in the menu.

Remember to stay out of the designer as you can break the website by trying to edit in this work mode. If you accidentally end up in the Designer mode you can access the editor in the menu in the Designer.
Look for the "W" in the upper left corner and click the menu and you can find the Editor button.

You can also access the Editor in the top toolbar in the Project settings

Switch between Editor mode and Live site mode
When you open the Editor, you'll be able to explore the site in preview mode or "live site" mode. To switch to Edit mode, click the "Edit site" button at the lower right of the page.Go "Back to live site" when you want to see the site in preview mode.
Let your Collaborators know that they will need to set their browser to accept cookies from all third parties to use the Editor — otherwise, they may see an error message when trying to log in to the Editor.
Multi-user collaboration
The Editor allows multiple people to edit static and dynamic content at the same time.
Only one person can work in the Designer at the same time but multiple people can work in the Editor at the same time. If two people are editing the same content at the same time, the last edits "win," so you'll still want to coordinate editing times with your teammates.
If you or your collaborators see an error message when trying to log into the Editor, try one of the following fixes:
Check that your browser accepts cookies, and if not, turn that on
Log out of the Editor, clear your browser's cache, then log back in
Log in to the Editor via an incognito-mode window
Try logging in via a different browser
Try sending a new collaborator invitation to your content Editor and ask them to use an incognito window to create their new account
If none of those work, please contact support
Understanding the Editor Toolbar
When you access the Editor, you’ll see your live website with the Editor toolbar (the gray bar) collapsed at the bottom of your screen. Through this toolbar, you can access the various Editor panels to manage page settings, dynamic content or collections, forms, and your Editor account. You can also see and publish the changes you make through the Editor.

The Editor toolbar features the following tabs and icons:
Menu - Use this menu to go to the Dashboard, your Project Settings, or the Designer. This button features the Webflow logo. You can replace this with your own logo, or your client's, on our Pro plan.
Pages - opens the Pages Panel, which lists your site’s static pages and dynamic Collection pages. From here, you can browse for a page, click to view the live page and manage the settings of any page.
Collections - opens the Collections Panel, which lists all your Collections. Clicking on a Collection opens a new tab in the toolbar, which opens the Collection items’ panel listing of all the items in that Collection. Here, you can edit any item or create new ones. See Creating and Managing Content-CMS for more info.
Forms - opens the Forms Panel where you can see and download form submissions made on the site.
Account Settings (gear icon) - opens the Account Settings Panel where you can edit your Collaborator account info and upload a profile image.
Help & Support (life preserver icon) - opens the Help and Support Panel, where you can find answers to a few common questions about using the Editor.
Log out (half circle/arrow icon) - logs you out of the Editor after confirmation.
Saving/Saved - all changes are saved automatically in the Editor. The Saving... and Saved status at the bottom left show this.
Changelog - this shows the number of unpublished changes next to the publish button at the bottom left. Clicking the changelog reveals a list of items and pages with unpublished changes, and you can see which Collaborator made them.
Back to live site (button) — Switches from Editor mode to Live-site mode, which allows you to view your site as your site visitors will see it.
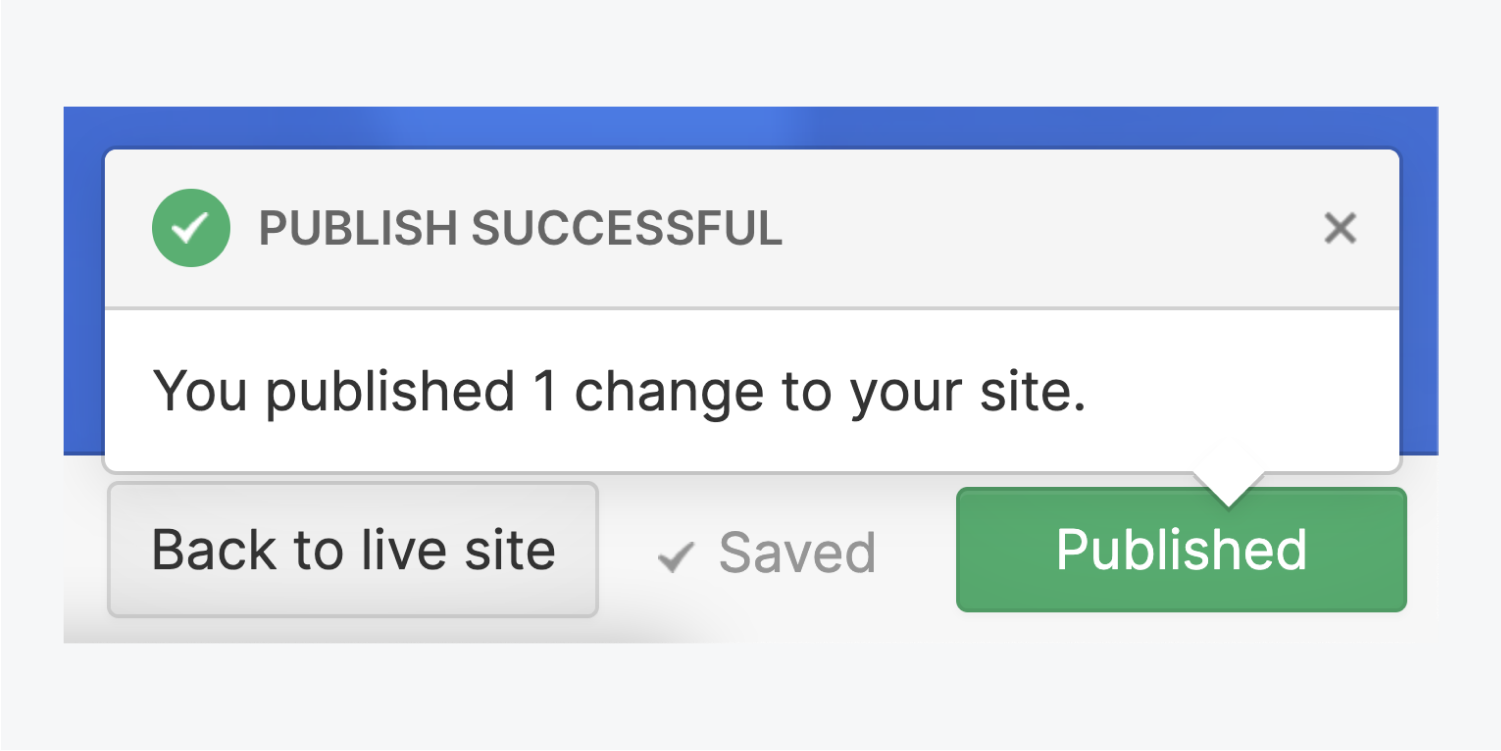
Publish (button) - allows you to publish all the changes you make when in the Editor. Remember no changes will go live until you hit the publish button.
You Can Edit Right on the Page!!!
Editing is so easy and intuitive with the Editor. Hover over various elements and if you see a pencil icon then you can click on it and edit the text right there!
When hovering over editable text elements, you’ll see a light-gray outline around the text element and a pencil icon in the upper right. You can edit the text by clicking into the box.
Remember you have to publish your site for your changes to go live.


Formatting Text
You can also format words or phrases with bold, italic, add a link or remove formatting by selecting them and choosing the formatting from the floating toolbar that appears.

For Rich Text Elements-you might see in blog or long post
For Rich text elements, you can do more: add media, photos, create lists, style, and format your text further.

Replacing Images is Easy
You can also replace images right on the site. Just hover your cursor over the image you want to replace, then click the picture icon. This will allow you to select and upload a new image from your computer.

You can edit buttons
To edit a button, hover your cursor over the button and click on the Settings icon that appears in the upper right.

You’ll see two options:
Edit link settings - lets you update the link of the button, you can link it to a website page, an external link, email or phone number
Edit text - enables you to change the button text

What is a CMS?
CMS stands for content management system, and as the name suggests, it's a system for managing the content of your website. It can be a collection of blog posts, team members, job postings—any you want.
Static Pages: these are pages built outside of your Collections. These may include your home, about, contact, etc.
Collection Pages: these are pages generated from your collections and it can be a collection of blog posts, team members, job postings—any you want.
Webflow's "visual" content management system allows "non-technical" people maintain their websites and publish new content within a consistent design.
Creating and managing dynamic content
If you have Collections in your project, you can access them in the Editor through the Collections tab. The Collections Panel lists all your collections.
Clicking on a collection opens a new tab titled with the name of the collection. This tab contains all Collection items within that Collection.
This is where you could be more specific about your client's collections that are on the site. I would use more specific photos or even make a video.

Creating and managing dynamic content
You can edit existing items by clicking on them or creating new items by clicking the + New button and filling out the item’s various fields that was setup by your developer.

When you’re done entering content or updating fields, you can choose to:
Create a new item or save an existing item. It will be staged to publish and go live on your site next time you publish it.
Publish your item right away (without waiting for the next site-wide publish to take place).
Save as Draft if you aren’t quite ready for the item to go on the live site.
Cancel to discard changes.

You can view the page for that the collection item by clicking the icon to the right of the item name. This collapses the panels to show you the page for the item you’re currently viewing right in the browser. If you’d like, you can edit it there, instead of in the panel.

To go back to the Collection item's list, click the Back (←) button.

Managing content
In the Collection Panel, you can see all your Collection items and their statuses. You can delete, archive, or change the status of several items all at the same time.
To do that:
Click the Select... button
Select the items you want to manage
Choose the action you want from the top toolbar

To close the Collection tab, click the close (x) button in the top right of the tab.

Managing Page Settings
From within the Pages Panel in the Editor, you can manage vital page settings like SEO meta title and description. You can also manage page password protection settings for static pages.
To access the settings of a page:
Open the Pages tab in the Editor panel
Hover your cursor over a page in the list
Click on the Settings button that appears

SEO Settings
SEO stands for “search engine optimization.” It’s the practice of building and improving websites in order to improve their chances of being found through search engines like Google, Bing, etc.In each page’s settings, you can create and edit the following page-specific SEO settings:
Meta title: A page’s title plays a very important role in its visibility and performance in search engines, both because it a) tells search engines what the page is about and b) is what search engine users will click on to reach your site. Be sure to include the types of words people use to describe your business in the title. Ideally, a page’s title should be about 55 to 60 characters long.
Example: Let's say you have a pilates studio in Santa Cruz, the title of the homepage could be “Move Pilates | Santa Cruz's Best Pilates Studio”
Meta description: The description allows you to add a little more detail about your page (about 150 characters of it). It’s important for search, but not nearly as important as the title.
The Search Result Preview sections shows you what the content you’ve entered will look like on a Google search results page. If any of your text gets cut off in the preview, you’ll want to trim your text to fit.
This is usually set up by the developer but you can change it to reflect your business.

Open Graph (OG) settings
Open Graph settings are very similar to SEO settings, except that they’re used by social networks like Facebook, Twitter, and LinkedIn.
In most cases, you can just tick the checkbox to use the same content as your SEO title and description. But you can customize it.
By setting the Open Graph settings of your pages, you can specify which information from your pages you want to show when someone shares your page.

You can also search for pages by name using the search bar.

Viewing and publishing changes
After making all these changes, you will want to view them, make sure they're saved and ready to be published before clicking Publish.
The changes made in the Editor won’t be made on the live site until you either publish the edited item(s) individually or press the Publish button to publish all staged changes. You will need to confirm that you want to publish all changes before the site is actually published. The green Published button will confirm this.
Viewing changes on the live site
While working in the Editor, the Editor panel covers most of your website. To collapse the Editor panel and view your website, click the View Site button at the top.

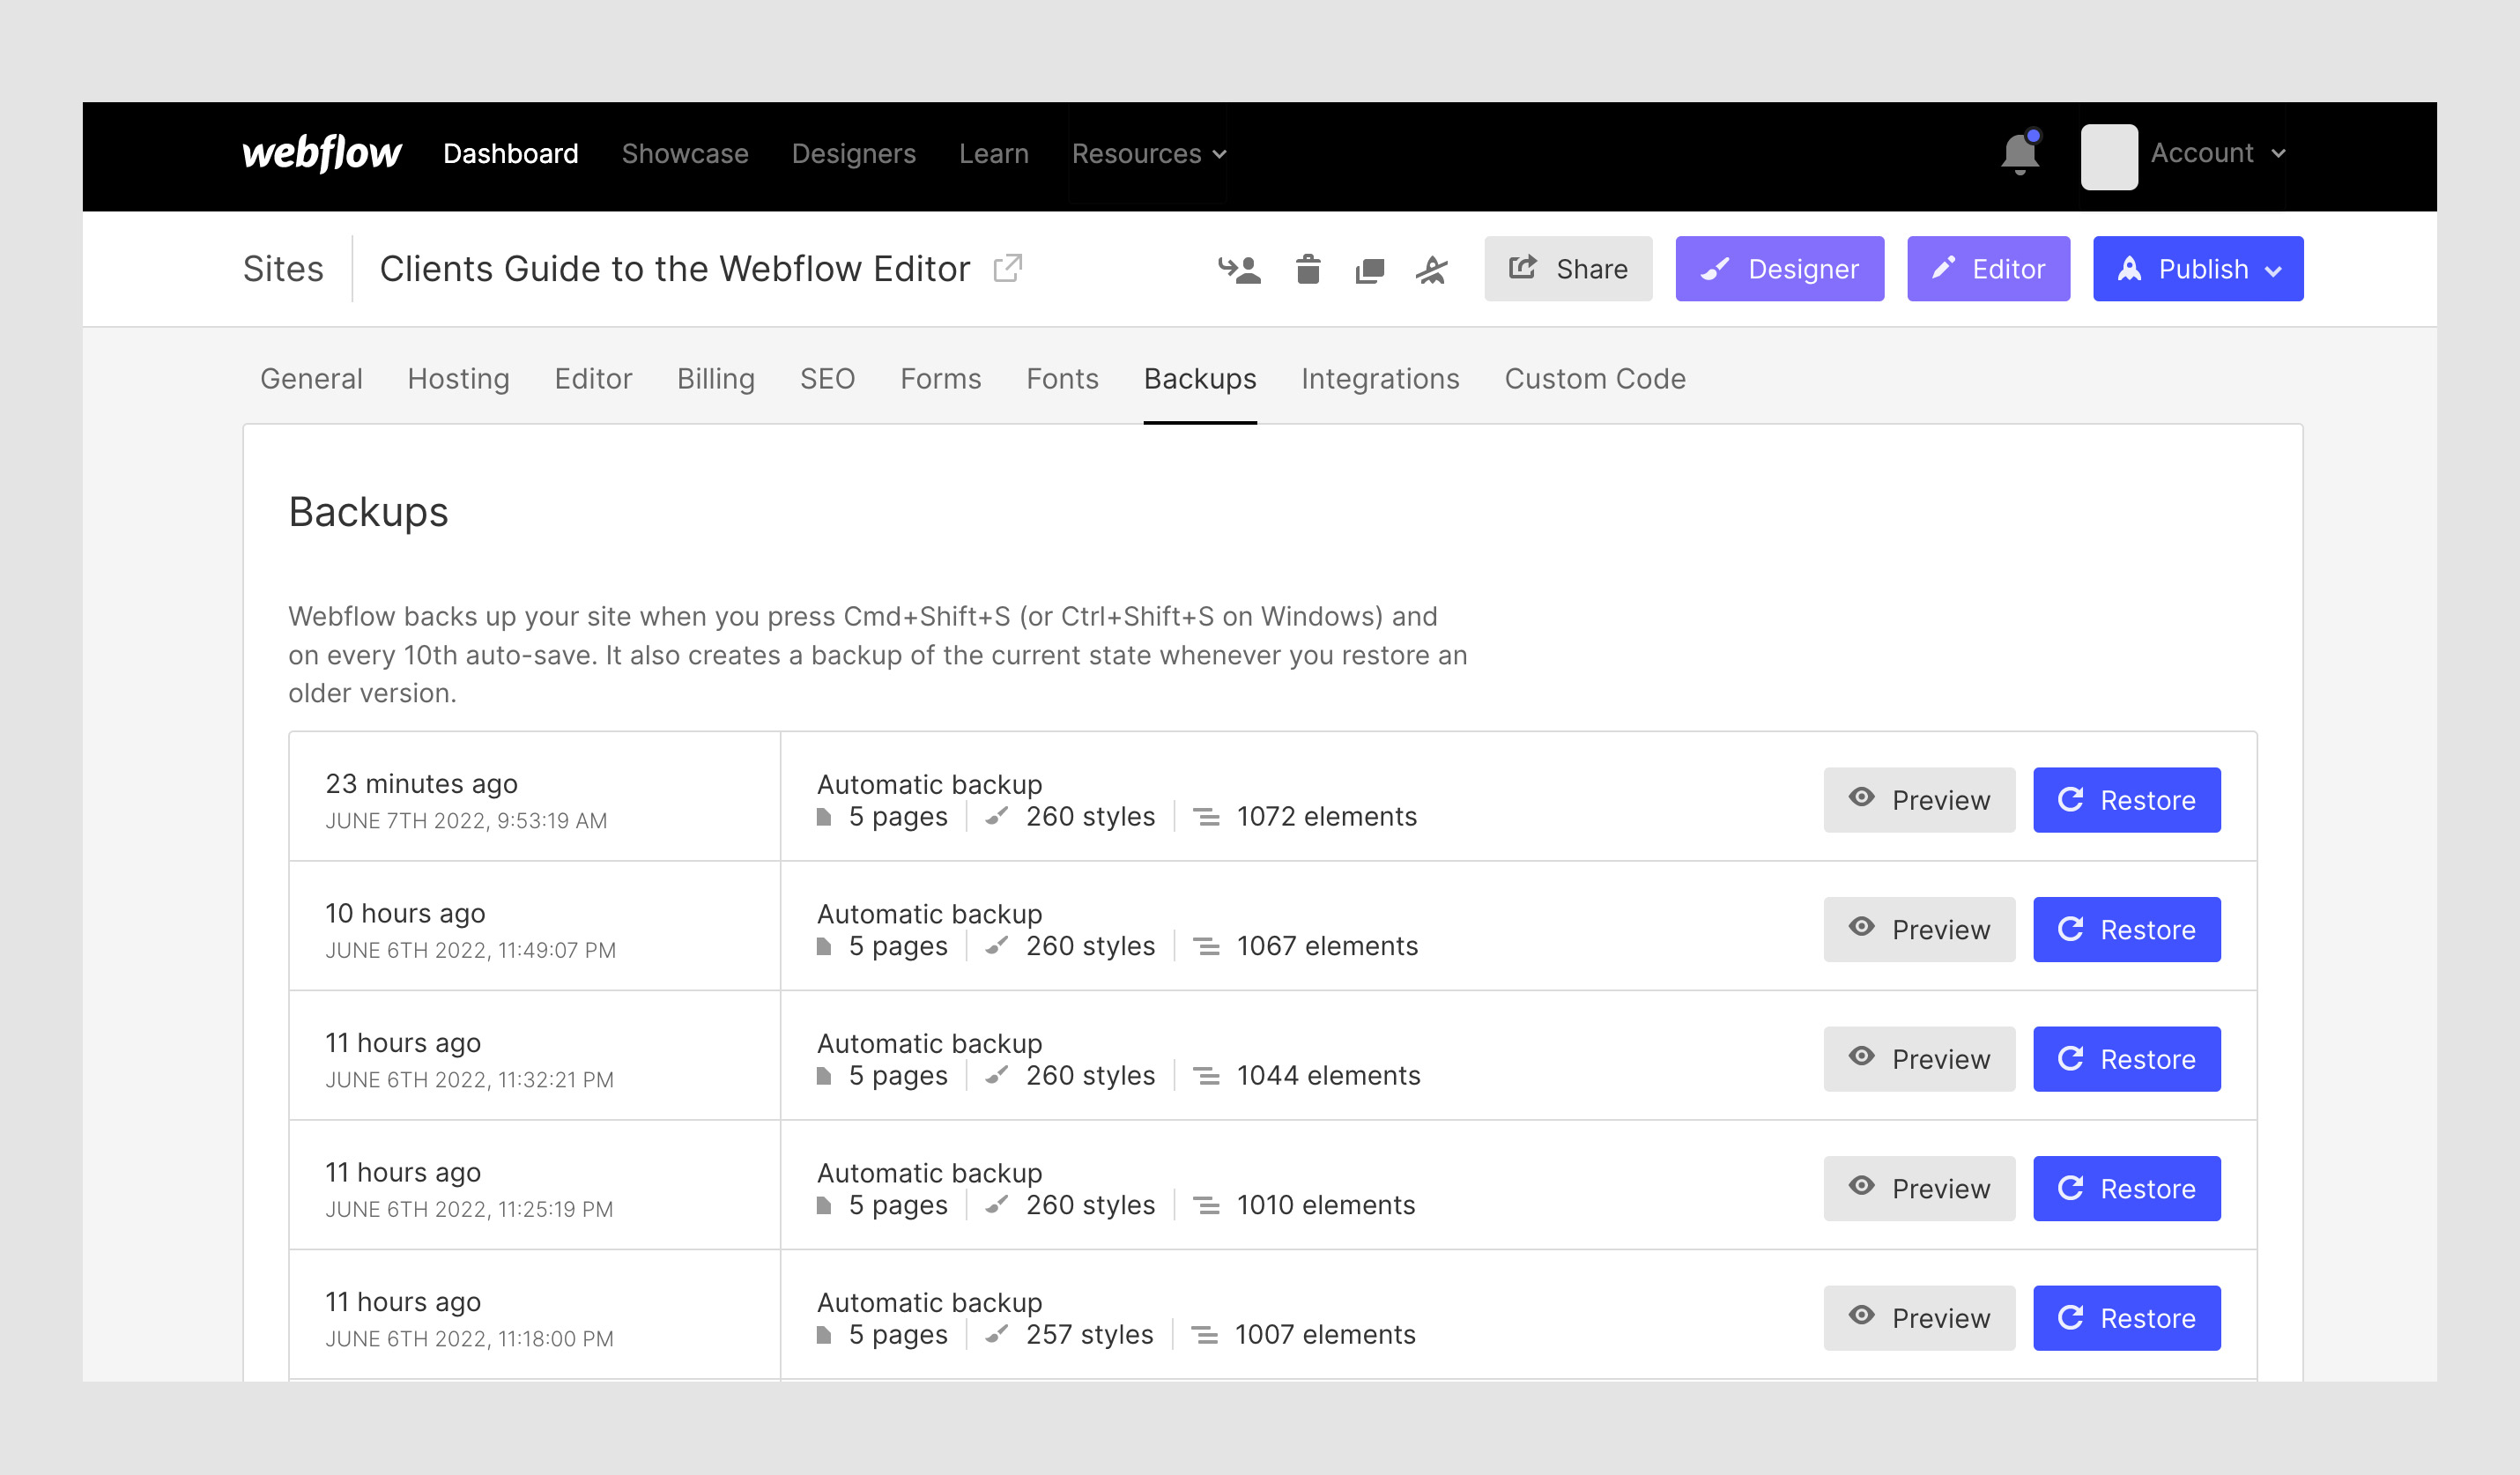
I screwed up the website now what?
From the bottom menu you can go to the project settings and then access the backups and restore the site to an earlier published version.

Click on restore on the version of the site you want it to return to.